
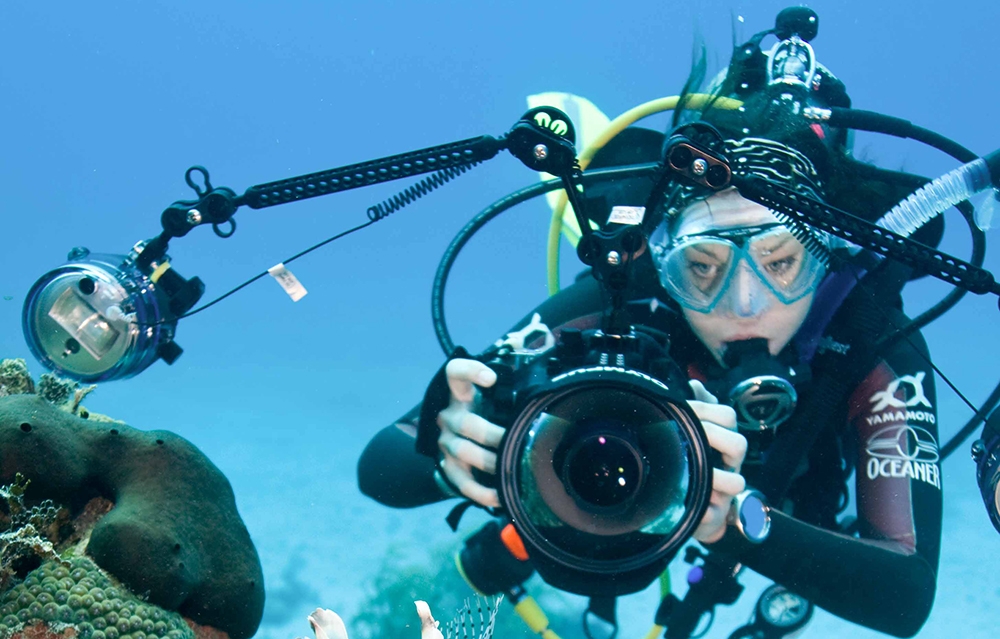
12 Tips for Preventing Underwater Camera Housing Leaks
There is a saying that there are two types of underwater photographer, those who have had a camera housing flood already and those who haven’t had a camera housing flood….yet. Camera floods do happen but there is always a reason for it and usually it comes down to a lack of proper preparation. Packing your camera should not be a case of simply putting it in the housing and closing it shut. Proper camera packing takes time and patience but when you return from your dives with great images and your camera in tact it will all be worth it!
Here are our top tips for making sure that your camera stays safe (and dry) during your dives:
- Invest in the best possible housing for your camera. Buy the specific housing for your camera make and model. “One size fits all” housings may be cheaper but they can cost you more in the long-run if they leak because they don’t fit correctly.

- Choose where you pack your camera carefully. Avoid dusty or sandy areas and position yourself away from any fans, wind or drafts. Make sure that you have adequate lighting – a bright desk lamp is perfect.
- Have everything you need close to hand before you start. If you have to stop half way through to grab something, your open housing may attract dust or fibre while you are gone. Essential tools include; an o-ring remover, tissue, silicone grease and a micro-fibre or lint free cloth.
- Wash your hands before you start and if you have long hair, tie it back out of the way. It’s true that a single human hair trapped in your housing CAN cause a leak!
- Start by opening your housing and removing the o-ring with an o-ring remover or other blunt tool – a credit card works well. Never use a knife, scissors or sharp object as this may damage the o-ring.
- Put the o-ring to one side on a clean, shiny surface, or if you’re working on a wooden bench place it on a plastic bag. Clean the “seat”, this is the ledge where the o-ring sits and it is often forgotten. Wipe around the seat and then follow up by running your finger tip around it to feel for any remaining gritty particles. Angle the housing under the light to check for any hairs or strands of fibre and remove them.
- Hold a tissue between your fingers and run the o-ring through it to remove any old grease, sand or grit particles or other foreign matter. Next slide the o-ring through your pinched thumb and forefinger and feel for smoothness – if you feel anything gritty repeat the cleaning process. Make a final check under the light for any fibres before applying a small amount of silicone grease and smoothing it all around the o-ring.
- Carefully replace the o-ring and once again angle the housing, with the o-ring in place, under the light to check for any foreign matter. Once you’re content that the housing is clean, place the camera in.
- In some housings there’s a space below where the camera sits and the base of the housing which is an ideal spot to place either a sachet of silica gel or a very carefully folded tissue. Silica gel will absorb any moisture, not just from leaks, but also from condensation due to temperature changes. If you decide to use tissue or a gel sachet in the housing be sure it doesn’t interfere with button functions, the seal of the housing or fit of the camera in the housing. In the event of a small leak the tissue will also absorb moisture and hopefully buy you enough time to get out of the water.
- Make a final check and close the housing. When you do this, make sure that any lanyards or strings which attach the diffuser are well out of the way.
- Bubble check! Hold your packed camera underwater – a wash tank is ideal for this – and check for any bubbles which indicate a problem with the seal of the housing. It’s better to discover a problem now than when you are at 20 meters underwater!
- Remember that after diving care is just as important as pre-dive packing. I can’t stress this enough. Rinse your housing thoroughly and if possible, air dry it. While rinsing the housing, depress and release each of the buttons several times to push out any salt water trapped beneath them. Gently lubricate the o-ring before carefully folding it in to a figure of 8 shape and storing in the housing.
When preparing to make a dive with your camera make sure you plan ahead so you have enough time to go through these steps slowly and carefully. Rushing to pack your camera makes you likely to miss a step or miss a hair or sand particle which could spell the end of your camera.
Take care of your camera housing by cleaning it and packing it carefully and it will take care of your camera!
Posted by Sarah Wormald
 By freedivinguae